Lab: Graphics
Preparation
a. If you haven’t already installed the graphics library, follow the instructions for Installing Graphics in Thonny.
Note:
If you are having trouble with any of the steps in setting up the graphics library, reach out to your instructor.
b. Once you have the graphics library installed, import all the graphics classes and functions by executing:
>>> from graphics import *
Note: If the above command fails, something went wrong. Talk to your instructor.
c. Before you start the first exercise below, consider opening up a new tab to the HTML Graphics Reference so that you can look at the classes and methods available to you.
Exercise 1
We will begin by experimenting with the basic graphics commands. This is very easy to do in the shell.
a. Start by creating a GraphWin object with a title of Hello World by typing:
>>> win = GraphWin("Hello World", 640, 480)
b. Try plotting a point in the center of the window by typing:
>>> p = Point(320, 240)
>>> p.draw(win)
Note: Since a point is drawn as a single pixel, it might be difficult to find the drawn pixel above. It should be exactly in the middle of the window.
c. Make sure a tiny black dot appears in the center of your window. Now let’s try moving the point.
>>> p.move(100, 100)
d. Verify that the point indeed moved.
e. Let’s try drawing a red circle around the point with radius 50.
>>> circ = Circle(p, 50)
>>> circ.setOutline("red")
>>> circ.draw(win)
f. If we move the point p do you think the circle will move with it? Try it to see what happens.
>>> p.move(100, 0)
g. Experiment a bit more by moving the circ object, creating other objects of different colors, and moving them around. There is a whole HTML Graphics Reference to explore!
Exercise 2
Let’s now display the message “Hello World!” on the graphics window.
a. Type the following into the shell to create a new window and display text.
>>> win = GraphWin()
>>> hello = Text(Point(100,100), "Hello, world!")
>>> hello.draw(win)
b. If the window is too small for your liking, consider making a larger window by doing the following instead:
>>> win = GraphWin("Hello", 1000, 1000)
>>> hello = Text(Point(500,500), "Hello, world!")
>>> hello.draw(win)
>>> hello.setSize(18)
c. Try changing the font of the text by doing:
>>> hello.setFace("courier")
d. And changing its color!
>>> hello.setTextColor("red")
e. You can also move text objects:
>>> hello.move(0, 100)
f. Or change the text of the object after the fact:
>>> hello.setText("Something Different")
g. Play around with creating more text objects, drawing them to the window, and experimenting with font sizes, font styles, and font families.
Exercise 3
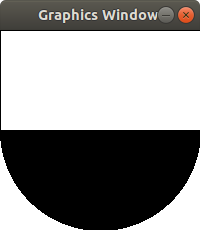
Write a program called show_semicircle.py that when run via the terminal will show a GraphWin window and display a semicircle that looks like the following.

Unfortunately there is no “semi-circle” shape, so to draw this we need to do the following:
- Use
circ.setFill("black")to change the fill color of the circle to black. - Draw a white rectangle overlapping the circle so that it makes it look like a semi-circle.
Exercise 4
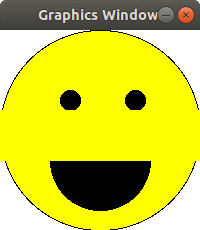
Write a program called show_smiley.py that when run via the terminal will show a GraphWin window and display a smiley face that looks similar to the following. Note that it doesn’t have to be perfect! Just get the hang of using graphics objects.

Exercise 5
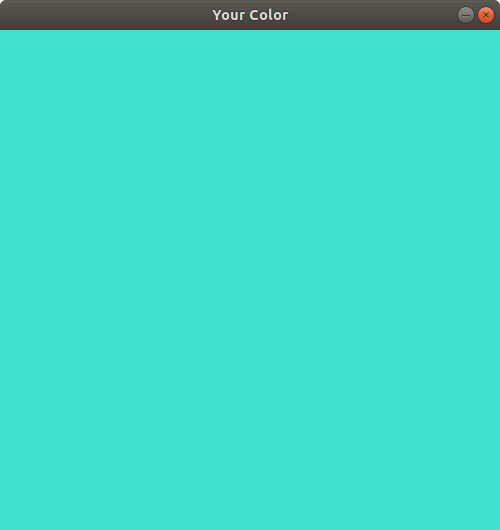
Write a program called show_color.py that prompts the user to type in the name of their favorite color and then shows them a GraphWin window that visualizes the color. The program should prompt the user to type in the color in the shell like the following:
Enter your favorite color: turquoise
Then it should show a window with the color, such as this:

Once your program is written, you can experiment with a variety of built-in colors in tkinter.
Finished Early?
If you have extra time, continue experimenting with the graphics library. Take a look at the HTML Graphics Reference and explore shapes like Line and objects like Entry.
