Lab: Image Processing
Preparation
These exercises should be completed with your assigned partner. Both of you will take turns playing the role of the driver (the one currently screen sharing) and the navigator. Please refer to the course Code of Conduct for more details.
Note: This lab we will be writing a lot of functions that manipulate images instead of entire programs. I recommend creating a new file called images_lab.py and putting all of your solutions to the following exercises in it.
Exercise 1
In this exercise we are going to play around with the color_rgb function to create colors. To help with this, here is a function:
def show_color(r, g, b):
    """Displays a window showcasing the given rgb color

    Parameters:
        r: an integer
        g: an integer
        b: an integer

    Returns:
        Nothing; called for the side effect

    Preconditions:
        r,g,b are integers between 0 and 255, inclusive

    Postconditions:
        A GraphWin is created that shows the given color
    """
    title = str(r) + "," + str(g) + "," + str(b)
    win = GraphWin("color_rgb(" + title + ")")
    win.setBackground(color_rgb(r,g,b))
a. Copy and paste the above function into your images_lab.py file. Also add an import statement from graphics import * so that it has access to the GraphWin class.
b. Run the code so that you have access to the show_color function in the shell.
c. Try visualizing various RGB colors by calling the show_color function. It should open up a new window each time.
>>> show_color(255, 128, 0)
>>> show_color(0, 128, 128)
>>> show_color(128, 43, 97)
d. Experiment with other RGB values to see what colors you can produce.
e. How can you produce the color black? What about white? What about gray?
Exercise 2
In this exercise we will experiment with images.
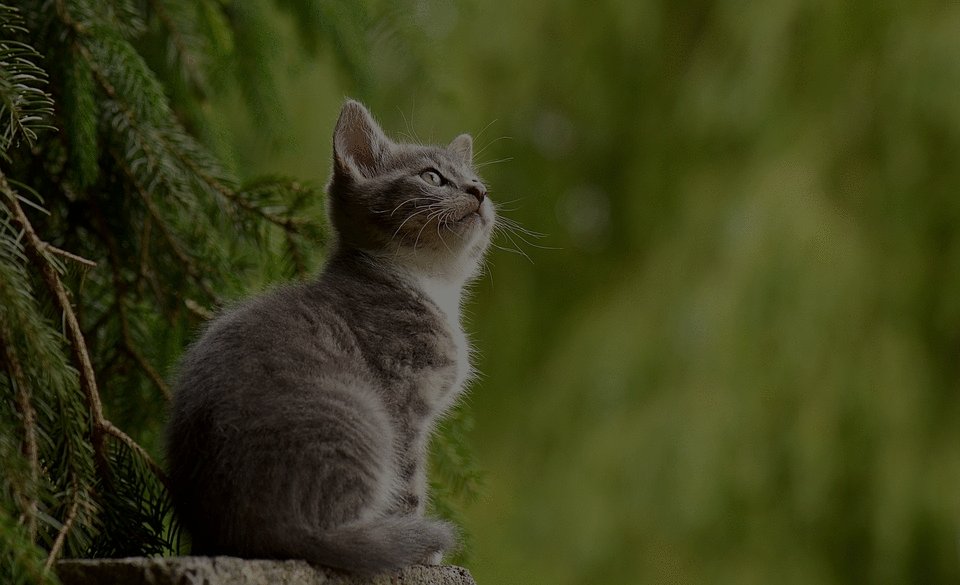
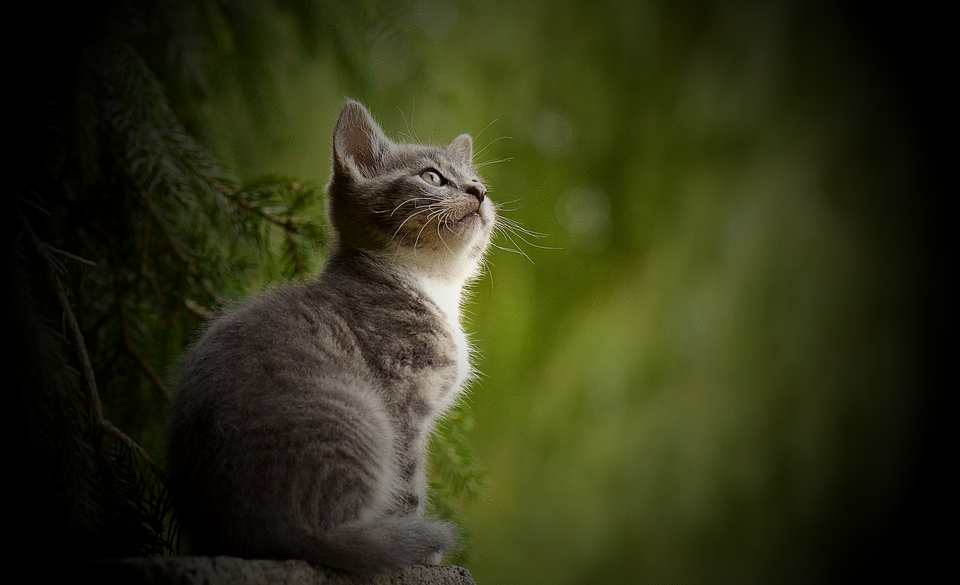
a. Start by downloading this extremely cute cat picture and save it in the same directory as your images_lab.py file.
b. Now create and show the cat image:
>>> img = Image(Point(0,0), "cat.png")
>>> print(img)
Note: When you use the print function on an Image object, it converts the image to a string that Thonny interprets as an image. Thonny is kind enough to display this image in the shell for us instead of printing off a textual representation of the image.
e. We can also write functions that manipulate images and colors to create cool effects. Consider the following example:
def darken_pixel(r, g, b):
    """Applies a darkening effect to a color

    Parameters:
        r: an integer between 0-255, inclusive
        g: an integer between 0-255, inclusive
        b: an integer between 0-255, inclusive

    Returns:
       new_pixel: a string-encoded RGB color
    """
    return color_rgb(r//2, g//2, b//2)

def darken_image(img):
    """Applies a darkening effect to all pixels of img

    Parameters:
        img: an Image object

    Returns:
        Nothing; mutates the img object directly
    """
    # Iterates over all the pixels of img
    for y in range(img.getHeight()):
        for x in range(img.getWidth()):
            r,g,b = img.getPixel(x, y)
            new_pixel = darken_pixel(r,g,b)
            img.setPixel(x, y, new_pixel)
Copy the above functions into your lab file and rerun the file to gain access to the function in the shell.
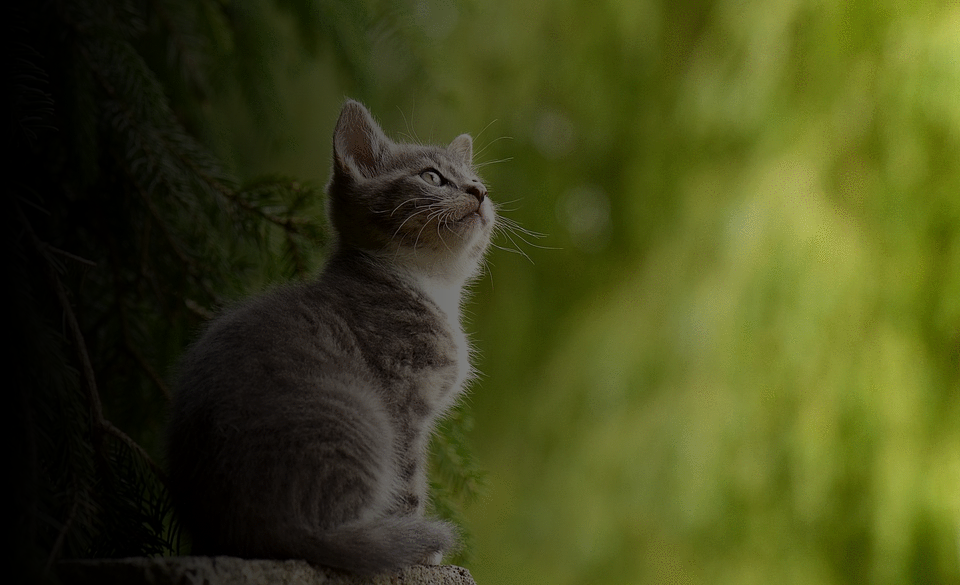
f. Now try applying it to the cat image.
>>> cat = Image(Point(0,0), "cat.png")
>>> darken_image(cat)
>>> print(cat)
You should see the following image:
g. We can even save images back to the disk after we have modified them. Try saving the modified image using the save method and then try viewing it with your default image viewer.
>>> cat.save("cat_darkened.png")
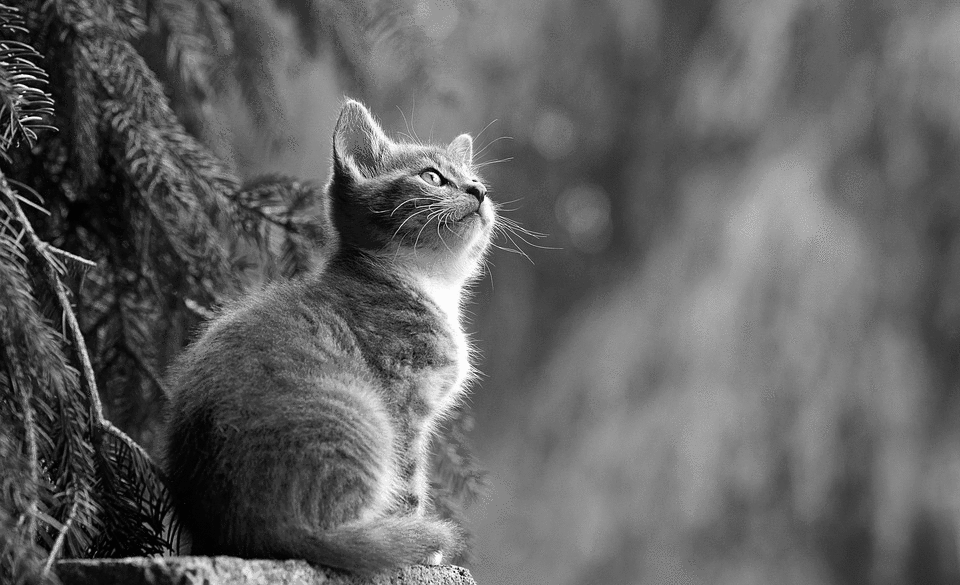
Exercise 3
What other cool effects can we implement in Python and apply to images? One common one is creating a grayscale effect.
a. Using the darken_pixel function as a guide, create a function named gray_pixel(r,g,b) that takes three RGB integers as parameters and returns a new color created from the average of the RGB components. For example, if your pixel is red, i.e. r,g,b = 255, 0, 0, the grayscale version of this pixel is color_rgb(85,85,85) because (255+0+0)//3 is 85.
b. Using the darken_image function as a guide, create a function named grayscale_image(img) that takes an Image object as a parameter and modifies it so that every pixel is grayscale. To turn a pixel gray, you should use your solution from part a.
When you print the modified image, you should see the following.
Exercise 4
a. Write a function akin to darken_pixel and gray_pixel that is called increase_contrast(r,g,b) that returns a new color where each component is brighter or darker depending on its value. In particular,
- If an RGB component of the input color is between 0 and 127, then the corresponding RGB component in the output is decreased by 32.
- If an RGB component of the input color is between 128 and 255, then the corresponding RGB component in the output is increased by 32.
For example, if you call increase_contrast(64, 200, 150), the returned color should be color_rgb(32, 232, 182).
Note:
Your increase_contrast function will need to make sure that each output component is between 0 and 255. For example, increase_contrast(10, 250, 32) should return color_rgb(0, 255, 0).
b. Now write a function increase_contrast_image(img) akin to the grayscale_image and darken_image functions that applies the increase_contrast function to each pixel in the image.
Exercise 5
In the previous exercises, we applied an effect to an image by transforming each pixel uniformly. However, to do more interesting transformations, we need to change pixels in a non-uniform way. For example, if we want to create a gradient effect, we need to darken some pixels more than others.
Suppose we want to create the following effect:
Doing this requires darkening pixels on the very left by 100% (i.e. make them black), darkening the pixels on the very right by 0% (i.e. leave them alone), and darken the middle pixels somewhere in-between.
Write a function called gradient_image(img) that takes an Image object as a parameter and modifies it to have the above effect. To create the effect, you’ll need a percentage of how close a pixel’s x value is to the left-hand-side of the image. You can compute this using the expression:
percent = x / img.getWidth()
The percent above is a number between 0 and 1 of how close a pixel is to the left-hand-side of the image. Using this, you can darken the RGB values of a pixel by how close it is to the left-hand-side.
Exercise 6
In the previous exercise, we created a left-to-right gradient effect. In this exercise, we will create a spherical gradient effect. Ultimately we want to produce an effect that looks like the following:
To do this, we will need a percent of how close a point (x, y) is to the center of the image. You may find the distance(p1, p2) function we wrote previously helpful in computing this percentage:
def distance(p1, p2):
    """Returns the distance between points p1 and p2"""
    diffx = p2.getX() - p1.getX()
    diffy = p2.getY() - p1.getY()
    return math.sqrt(diffx**2 + diffy**2)
The above image was created using a radius of img.getWidth() / 2 so that the pixels in the corners of the image are black. (In other words, any pixels that have a distance of radius or more from the center of the image are black.)