
Installing Thonny
Downloading and Installing
-
Go to https://thonny.org and download the correct executable for your operating system. The download button is located in the upper right corner and has a link for Windows, Mac, and instructions for Linux.
-
Go through the appropriate steps to install Thonny.
Note: If you have trouble installing Thonny on your computer, reach out to your instructor. There are other ways of accessing Thonny.
-
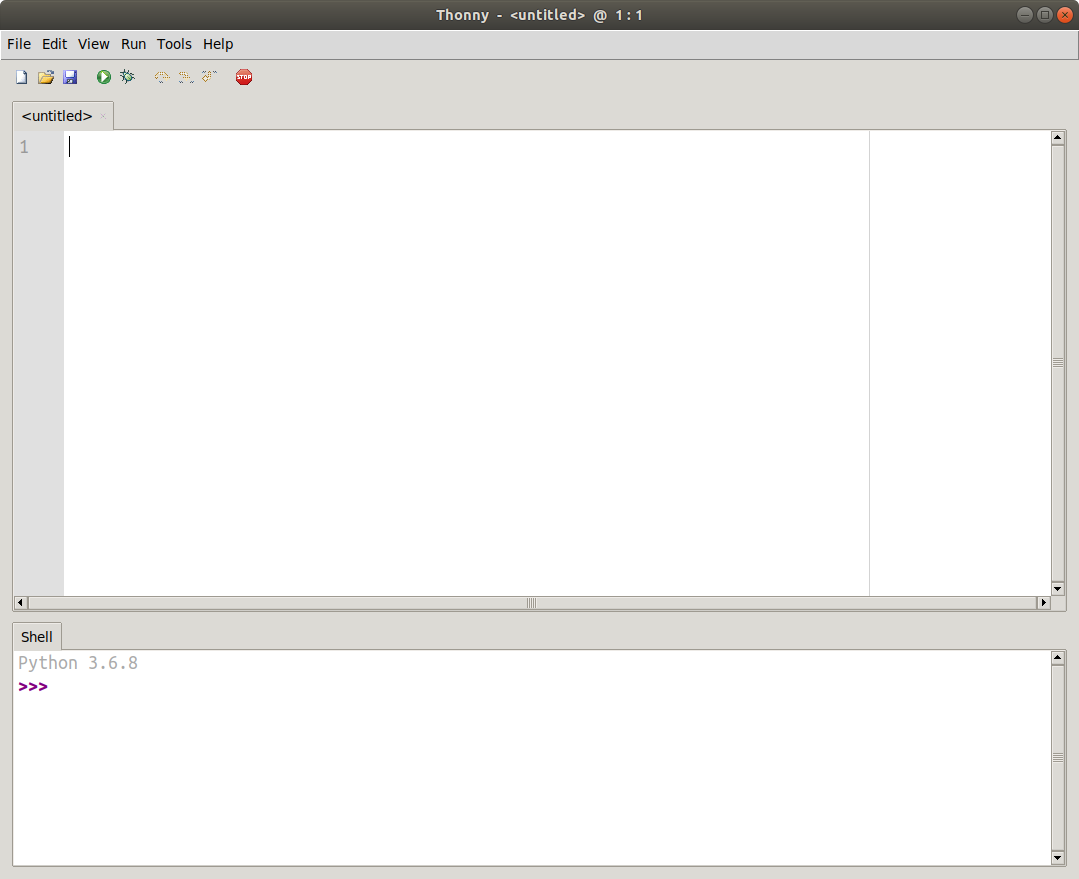
Launch Thonny. The interface should look like the following.
The Editor
The top text pane in Thonny is called the editor, and this is where we will be writing most of our Python code. Typing text into the editor is similar to typing text into Microsoft Word. When you click the “Save” button, it will save any code you have written in the editor to a file on your computer.
Python files should always have a file extension of .py (e.g. program.py). The .py tells your computer that the contents of the file should be interpreted as a Python program. Similarly, Microsoft Word files should always have a file extension of .docx (e.g. essay.docx) so that your computer will interpret the contents as a document.
When you click the green “Run” button in Thonny, it will execute the Python code in the editor.
The Shell
The bottom text pane containing the >>> prompt is called the shell. The shell has multiple purposes:
- Any textual output from a Python program is displayed in the shell.
- If the program requires textual input from the user, the user can use the shell to type the text needed by the program.
The shell can also execute Python code interactively. Whenever you see the >>> prompt in the shell, you can enter a Python statement, press “Enter” on your keyboard, and the shell will immediately evaluate the code and print the result.